freeCodeCamp is hosting a free hackathon at GitHub in San Francisco (and an online hackathon, too)

On November 3, hundreds of people will converge on downtown San Francisco to compete in the 2018 freeCodeCamp JAMstack Hackathon.
You should come, too!
And don't worry if you can't make it to San Francisco - we'll have an online version of the hackathon with its own set of prizes.
freeCodeCamp is hosting the event in partnership with Netlify, as a part of JAMstack_conf 2018.
And yes - the hackathon is completely free. (If you want to attend the conference as well, you can use the promo code freecodecamp100 for $100 off conference tickets.)
What is a hackathon?
A hackathon is an event where people join teams and code together, then show off the projects they built. They usually only last one or two days, and often involve judging and prizes.
The JAMstack is a simple way of building web apps. JAM stands for JavaScript, APIs, and Markup (HTML and CSS).
If you've built some of the projects in the freeCodeCamp curriculum, you've already been using the JAMstack.
The main difference between the JAMstack and other web development stacks like LAMP and MEAN is this: instead of using a web server back end, you use APIs.
Is this event for me?
If you want to make friends, build a project, and get in two solid days of coding practice, then yes - it's for you.

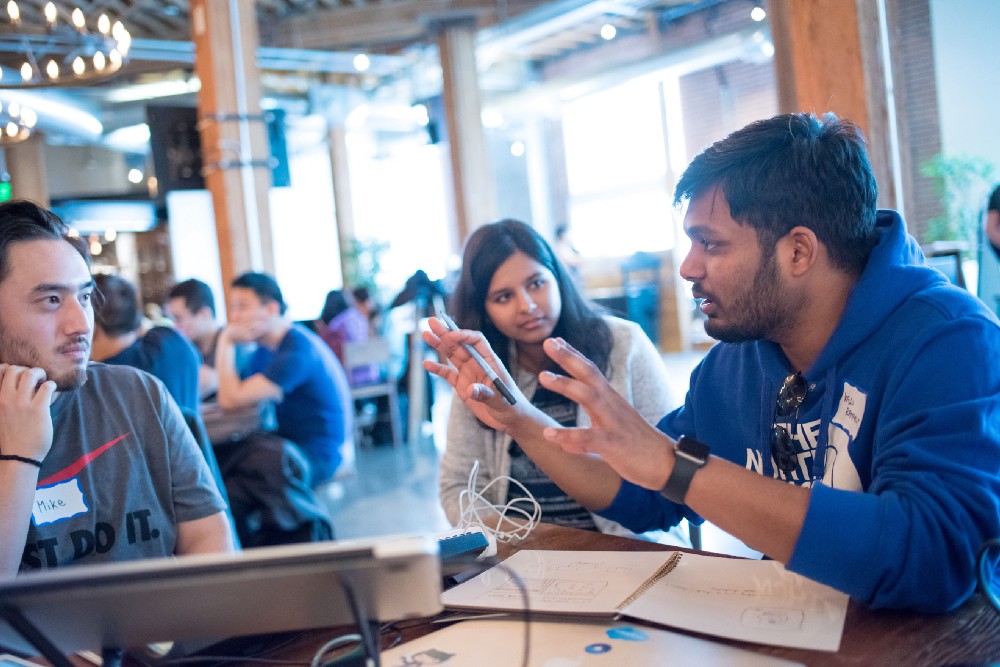
A photo from a recent React-focused hackathon held at GitHub. Photo by Real World React.We welcome people of all skill levels - even people who just started coding a few months ago. If you haven't been to a hackathon before, this would make a great first hackathon for you.
And there will be food. Lots of food.
How can a big event like this in downtown San Francisco be completely free?
Most hackathons have API sponsors who want to raise awareness of their APIs among developers. Many of these API sponsors will also have their own prizes for teams who make the best use of their APIs. They may also have developers at the event who can answer your questions about their API, and help you integrate it into your web app.
My company has a sweet API. Can we sponsor?
Of course! Send sponsorship inquiries to sponsors@jamstackconf.com
What about the Online hackathon?
Traveling to San Francisco can be expensive, and it can be a pain to get a US visa. So we're also hosting an online version of the 2018 freeCodeCamp JAMstack Hackathon. It will take place during the same days.
Online hackathon teams will compete for their own set of prizes. They can interact with the judges, mentors, and other hackathon teams through our chat room and our live stream of the event on the freeCodeCamp YouTube channel.
What about the San Francisco hackathon?
We'll start at 9 on Saturday morning on November 3 at GitHub's San Francisco headquarters (88 Colin P Kelly Jr Street). We'll code until 9 at night, then go home and get some sleep. Then we'll start again at 9 on Sunday morning, and finish up by 9 on Sunday night.

How to get a free ticket
We want everyone to be ready to code as soon as the event starts. So in order to get a ticket for either the in-person or online hackathons, you need to take a few minutes to make sure your laptop is all set up right.
The following tutorial will walk you through installing Git and Node.js, and deploying a "hello world" JAMstack app to the web.
This process is completely free and you don't need a credit card or anything. Over the next few minutes, you'll install a few tools on your laptop and create an account on GitHub and Netlify.
You can skip any steps that you've already done, but you will need to have a "hello world" app live on Netlify in order to apply for a free ticket.
Once you've finished this tutorial, you can submit your "hello world" app's URL to apply for a free ticket.
We have a limited number of tickets and we expect the event to be full, so I recommend applying as soon as you can.
How to get your first JAMstack web app live
This tutorial will work on Mac, Linux, and Windows.
If you are using Windows I recommend using Windows' new Linux Bash Shell.
Note: when configuring all of these things on your computer, you may encounter issues related to your operating system. If you get stuck, read through this forum thread and if you are still stuck, ask for help by replying to this thread.
Step #1: Install Git
Git is a powerful version control tool that most major open source projects, including freeCodeCamp, use for collaborating on software.
You can download and install Git here.
Step #2: Install npm, Node's package manager
You can download and install npm here.
Step #3: Install VS Code, Microsoft's open source code editor
You can download and install VS Code here. You can use any code editor you want, but this is a popular free one.
Step #4: Install Gatsby.js
Open your terminal (which may be called a shell in your operating system) and type the following command:
sudo npm install --global gatsby-cli
You'll need to enter your system password, which should be the same password you use to unlock your computer from sleep mode.
Step #5: Create your JAMstack "hello world" app using Gatsby
Run the following command:
gatsby new gatsby-site
Step #6: Change to your app's directory and run it locally on your computer
Run the following command:
cd gatsby-site && gatsby develop
Now open a new tab in your browser. Type localhost:8000 into your browser's address bar. You should see something like this:

Step #7: Customize your project's code
Open your project in VS Code or whatever code editor you prefer.
Navigate to the index.js page and customize its HTML.

Step #8: Commit your code to Git
Make sure you're in your project's directory in your terminal and type the following command to initialize a Git repository:
git init
Then stage all of the files that Gatsby created in Step #5 by running this command:
git add .
And finally, commit those files to Git with the commit message "first commit":
git commit --message "first commit"
Step #9: Create a GitHub account
You can create a free GitHub account in just a few minutes here. (Choose the "Unlimited public repositories" option).

Check your email inbox so you can verify your GitHub account.
Step #10: Add your SSH keys to GitHub.
SSH keys are a way you can securely access your GitHub account from your terminal without the need for authenticating using a username and password.
Run this command in your terminal to generate SSH keys:
ssh-keygen
The terminal will prompt you to choose a file location. Just press enter to accept the default file location. If the terminal tells you that you have already generated an SSH key in the past, press "n" so you don't overwrite your existing key.
Run this command in your terminal to copy your computer's public SSH key to your clipboard:
pbcopy < ~/.ssh/id_rsa.pub
Then click here to go to the SSH key settings page in GitHub and paste it in.

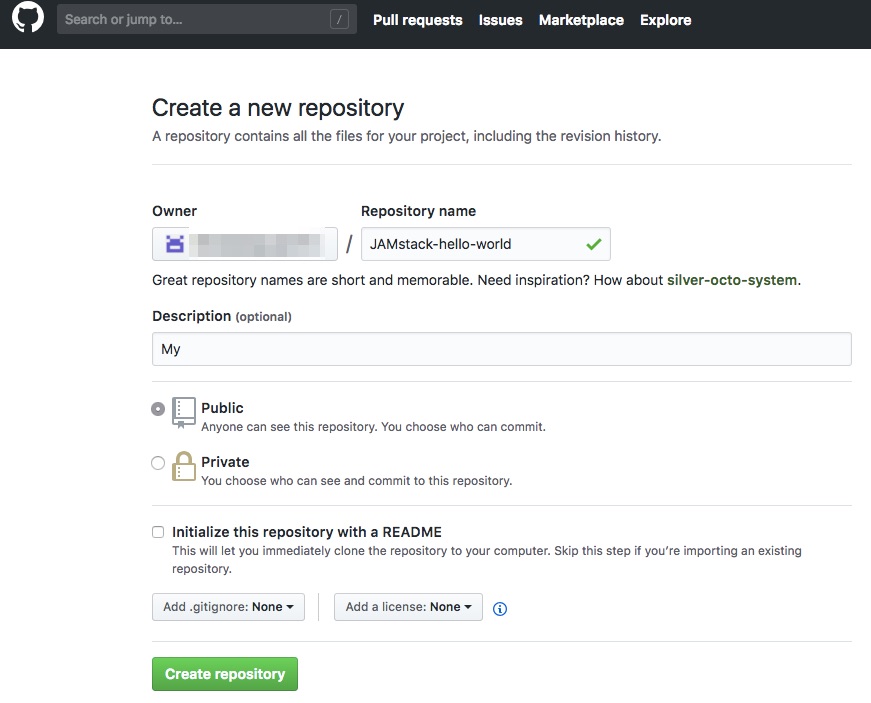
Step #11: Create a repository on GitHub
Follow this link to create a GitHub repository. You can name it whatever you want, and the description doesn't matter for our purposes. As long as you make this public, it's completely free.
Step #12: Set your GitHub repository as your local Git project's origin and push your code to GitHub
Once you've completed Step #10, GitHub should send you to a page that looks like this, which has an option to push an existing repository from the command line.

You can click the clipboard button to copy the commands to your clipboard. Then go back to your terminal and make sure you're still in your project's directory. Then paste those commands into your terminal.
Step #13: Create a Netlify account
Follow this link to go to Netlify's signup page. Then sign in using the GitHub account you just created.
Step #14: Create a Netlify app from your GitHub repository
Now go here and choose GitHub as your Git provider.

You should now see the GitHub repository you created a few minutes ago, and be able select it.
Netlify's default configuration should be fine. So you can just scroll down and click the "deploy site" button.

Step #15: Wait for your web app to build, then visit it on the internet and make a note of its public URL.
You can click the automatically-generated Netlify URL to view your project live on the web.

Congratulations! Your first JAMstack web app is now live on the internet!
You now have all the components you need to start expanding and developing your JAMstack web app. You can open up your codebase in VS Code, make edits, commit those edits to Git, then push them to GitHub. Netlify can automatically build and deploy your app to the web.
But for now, you are all set to apply for your free 2018 freeCodeCamp JAMstack Hackathon ticket!
Make sure you have the URL for the GitHub repository you just, and the URL for your live JAMstack web app you just created (the Netlify project URL). Then fill out this quick form to apply for a free ticket.
Be sure to follow freeCodeCamp on Twitter - we'll post updates there as well. Look forward to seeing you at the 2018 freeCodeCamp JAMstack Hackathon!


